Working on a Raspberry Pi project that needs more than a standard Linux desktop? Here are several ways you can use Android as your Raspberry Pi OS.
Why Install Android on a Raspberry Pi?
If you’re using a touchscreen setup, the default Raspberry Pi OS desktop (the LXDE-based PIXEL) is unsuitable. Whether you’re using a small touchscreen display, the standard Raspberry Pi touchscreen, or some other display, Android is the ideal solution.
Better still, you get access to the biggest library of software possible. Productivity tools, media streaming apps, games, they’re all available. (You will be restricted by the hardware limitations of your Raspberry Pi model, however.)
Meanwhile, if you're not using a touchscreen, you can connect a mouse and keyboard, just as you might with any other Android device.
Employ the usual method to install a Raspberry Pi OS to try these Android builds unless otherwise stated.
5 Raspberry Pi Android Builds You Can Try
The following Android versions for Raspberry Pi 3 are available for download:
- LineageOS
- AOSP
- OmniROM
- EmteriaOS
- LineageOS-based Android TV
With one of these installed, you can have access to the usual Google services, or keep things more private.
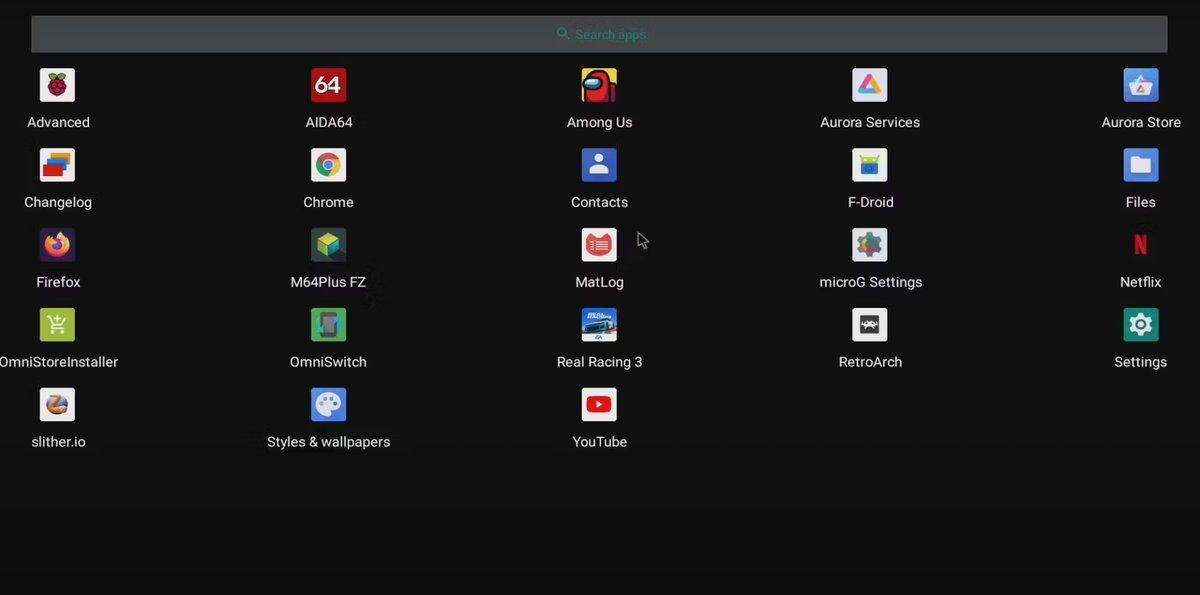
Installing apps on a Raspberry Pi running Android requires either the installation of GApps, or reliance on a third party store such as F-Droid.
All this makes Android the perfect solution for many Raspberry Pi projects. Here are the options to consider for installing Android on a Raspberry Pi.
1. LineageOS
Probably the most famous custom build of Android is LineageOS, which is available for a number of handsets. Thanks to a developer called KonstaKANG, LineageOS is available in various builds for several Raspberry Pi models.
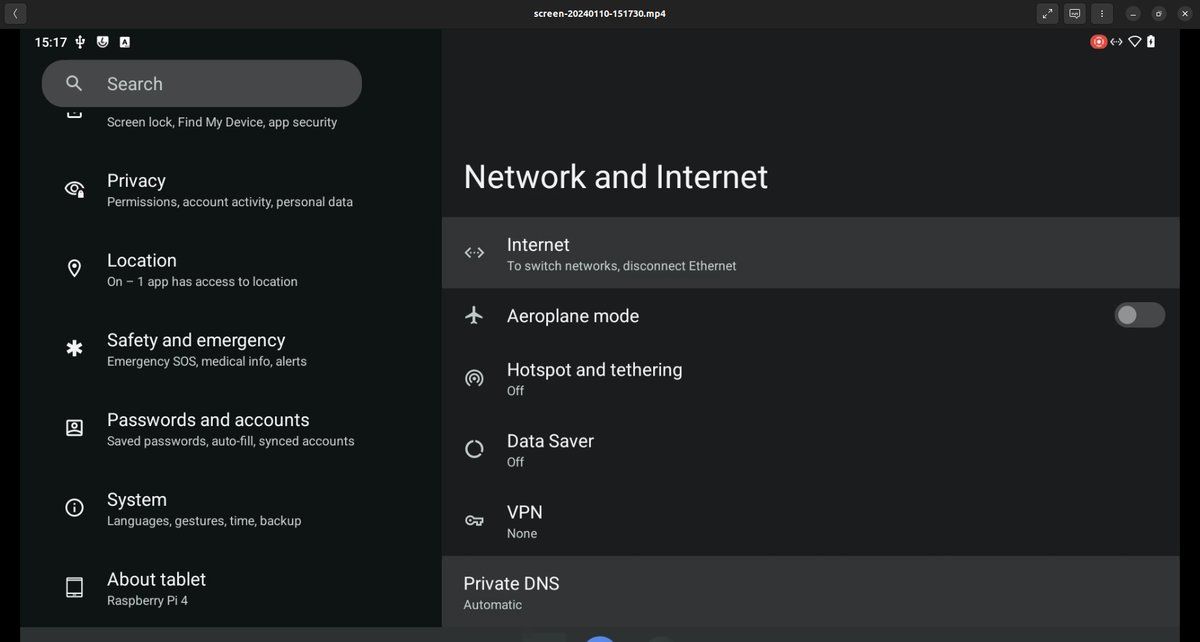
It’s available for Raspberry Pi 3 (LineageOS 17) and Raspberry Pi 4 (as LineageOS 20), with Android 14 available for the latter. (LineageOS 20 will also run on the Raspberry Pi 400 and CM4 models.)
Standard Raspberry Pi SD-flashing steps are required to install LineageOS. However, if you need Google Apps, the GApps package will also need to be flashed. Each build by KonstaKANG has slightly different steps, so check these before proceeding.
2. AOSP
The Android Open Source Project (AOSP) is the source of Android. As the name indicates, it is an open source project that is then built upon by Google, Samsung, Huawei, etc., for you to find on your phone, tablet, or TV.
Because it is open source, the AOSP can be adapted by any developer. KonstaKANG’s efforts have resulted in an AOSP-based version of Android for Raspberry Pi 5 (a build for the Pi 4 is also available).
You can install AOSP using any of the usual methods. As with LineageOS, you will need a GApps package if you want a “Google-fied” Android experience.
3. OmniROM
For a long time, the team behind OmniROM has been providing an alternative build of Android for specific phones. As of 2022, the project has widened to include the Raspberry Pi 4.
Based on AOSP, OmniROM has a stock Pixel user interface and is installed in two parts. For the best results, you’ll need a standard microSD card for your Raspberry Pi (on which to install the TWRP recovery software) and a suitable OmniROM build. At the time of writing, the latest build was issued in March 2023 for the Raspberry Pi 4.
Download |
|---|
Installing OmniROM is arguably the most difficult process on this list. It requires you to download and flash a main recovery image to a microSD card, then flash the build you want to run from a USB stick. It's a bit complex, but the result--Android on your Raspberry Pi 4--works well.
4. Emteria
An alternative to OmniROM, Emteria is a specialist build of Android intended for a narrow collection of devices. This list includes the Raspberry Pi CM 3 and CM 4 models, as well as the Raspberry Pi 3, 4, and 5 boards.
Installation of Emteria is straightforward, as you can find it in the Raspberry Pi Imager tool.
Download |
|---|
With the tool installed and a microSD card inserted in your PC:
- Click Choose Device to select your Raspberry Pi model
- Click Choose OS
- Go to Freemium and paid-for OS
- Click Android by emteria
- Select Android 13 or Android 14 for Raspberry Pi 4, or Android 14 for Raspberry Pi 5
- Click Choose Storage to select the microSD card
- Click Next to proceed with the installation
Additional post-installation settings can be configured by accessing the Raspberry Pi Imager’s advanced options, with Ctrl+Shift+X.
Emteria offers various subscription options, but the basic Starter plan is free and offers over-the-air system updates.
5. Android TV
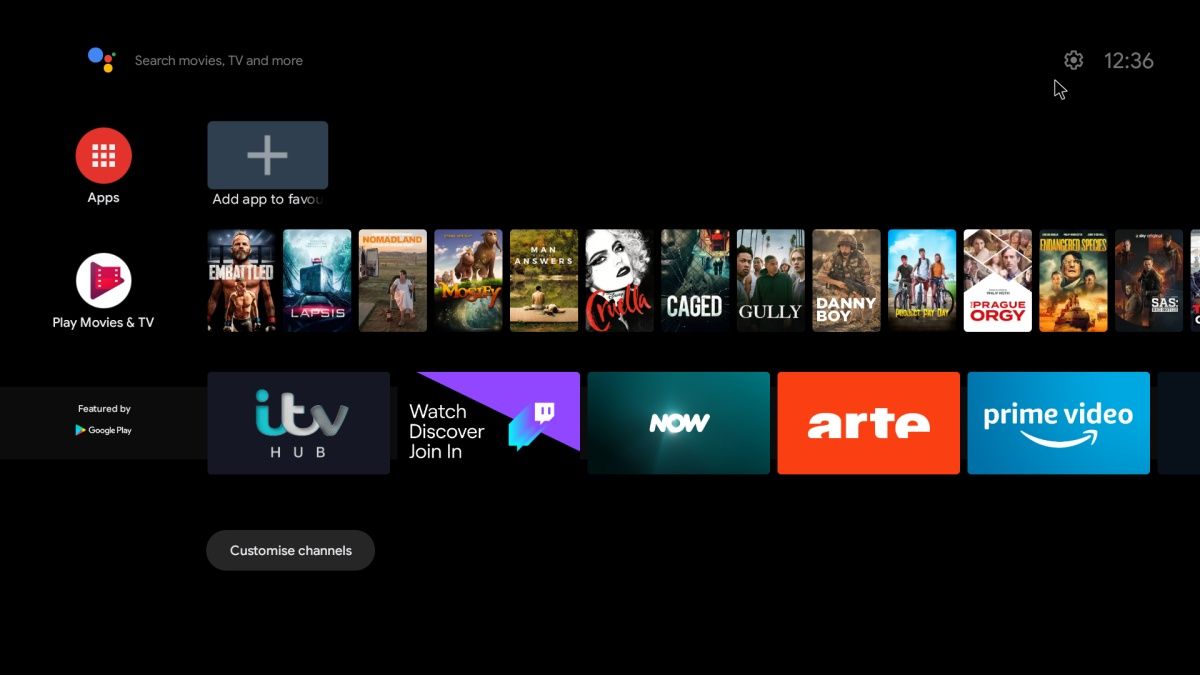
Incredibly, KonstaKANG also produces a build of Android TV (using LineageOS 20) specifically for Raspberry Pi 4.
This is designed for use with media center projects, and includes everything you need to get started out of the box. No additional software needs flashing; you don’t need to install GApps for this, just your favorite streaming apps.
Intended for Raspberry Pi 4 and Raspberry Pi 400 models, this Android TV works surprisingly well. Our guide to building your own Android TV with Raspberry Pi outlines all the steps.


